
Zebra Bottle Cap Magnet Ring

Here's how to get started with this fun project.
Materials needed:
Rubber stamp (an icon or single subject stamp works best.) 
Shrink film (I used Grafix film in white.  Black or opaque film works great, too.)
StazOn Jet Black ink (a solvent ink that dries fast on glossy surfaces)
Bottle cap (1 inch silver with magnet built in)
Metal adjustable ring blank
Large scissors
Solvent based markers
Heat gun or oven
Deep Red Stamps Zebra stamp measures, 2.75"wide  x 3.1" tall
Draw a circle around the design and cut it out using any scissors.  Decide to trim the design later depending on the size of your bottle cap.
Cutting the shrink plastic before heating makes it easier to trim once hardened since our desired final size is a circle.
I chose to heat shrink with a heat gun.  The recommended method is to bake in an oven.  Build a corral with acrylic blocks so the plastic doesn't fly across the table.
Use a pencil or X-Acto knife to unpin if edges stick together and quickly place acrylic block onto the plastic to get it to lay flat.  You only have a few seconds before it completely hardens.
Photo above shows how much the plastic shrank, how cool is that!
Before you trim the plastic to fit (in this project for a 1 inch bottle cap) cut out a template piece out of velum or transparency and place it over your design.  Decide what you want to be the final view of the design and draw around circle with pencil. This will be your trim line.
With very durable, large scissors (I used X-Acto brand), trim the cured plastic.  Use an open box on the table to do your cutting in so that the pieces of plastic don't fly around the room. (Similar to using a box when spray painting.) A rough edge is fine, sandpaper will help smooth the circle.
Your new plastic medallion is now complete!
Optionally, add color to your new medallion. 
Copic markers on hardened plastic work very well because they are solvent based.
Add E 6000 glue to the back of the medallion and place in the metal bottle cap.  (Photo above shows my testing of marker colors on the back.)
Add Mod Podge Dimensional Magic to the bottle cap.  Get rid of any bubbles with the tip of X-Acto knife. Let dry for 3 plus hours.
You can add pin backs, hair pin blanks, ring blanks, chain, etc.  Depending on what type of bottle caps you decide to use.  Many types of bottle caps are available on the market: ones with magnet already in them or pre-drilled holes ready to attach to a necklace. The one pictured above is a black, flat bottle cap that a pin back was glued onto the back.
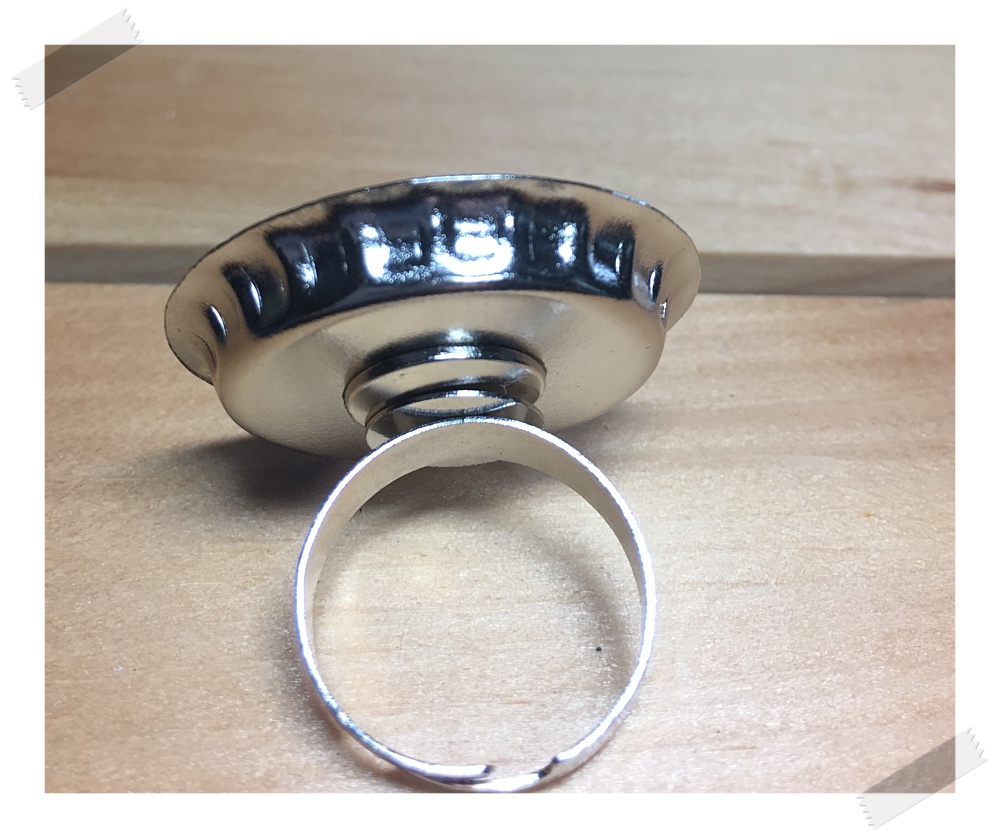
For the Zebra Ring, I used a silver bottle cap with the magnet already in it and it easily attached onto a metal adjustable ring base.


Popular posts from this blog

Journaling Techniques to Create a Card

​In this project, I combined some favorite journaling techniques to create a handmade card.  For those of you that do not create junk journals, that's ok because the processes, like watercolor paint splashes, rolling edges of the paper are used below make a very pretty card with many layers. I also include below a couple of tips on keeping your tools sharp and options for using different focal points. We use a center layout where everything is built around the middle line of the card. Embellish using the top left and bottom right with a background pattern of script in black ink gives the green center a nice contrast which is often seen in journaling. (The red flowers are watercolor designs that were inkjet printed.) You can use stickers of flowers just the same. The  ​Venus de Milo Rubber Stamp  is now available. It measures about 1.25" wide x 3.25" tall.  The oval frame is from our  ​Create a Cameo Rubber Stamp Collection .  You will notice, I used the top part of the Ve

Non-Halloween Stamps to Create Scary

  The dramatic effect of white embossing onto black paper doesn't just have to be done at Halloween. Here we used some unconventional stamps to create a scary tag with a base of black. While these stamps normally wouldn't be in the Halloween category, they end up somehow being perfect to create a scary tag. The best way to get a bright white look is by embossing with white powder. Embossing always comes out looking extraordinary and worth the extra effort. Above is our  Victorian Man Profile Rubber Stamp  embossed onto black chipboard. He'll make a great embellishment for a Halloween. (measures about 2 inch x 2 inch). A tree branch from our  Season of Joy Collection  is one of my favorite stamps. It expresses the beauty of nature in a simple way. Above, the branch stamp was embossed in Copper Powder onto black card stock. Our  Grunge Ticket Rubber Stamp  is seen above, embossed in white onto black card stock. The stamp measures about 3 inches tall x 1.5 inches wide. I love

IPhone Cover Decor

Since Xyron has a fabulous way of making anything into a sticker, I decided to create décor for the back of my cell phone case. Taking beautiful, damask patterned glitter paper from DCWV, 6x6 pad, 'The Glitter Basics" I cut out my iPhone 6s cover pattern using a template I created in plain white cardstock of my case.  To cut out the circle in the middle, I used an X-Acto knife.     The Scooter Rubber Stamp was embossed on red paper and cut out with scissors.  I smudged 'Claret' color StazOn ink around the edges.       After placing the scooter through the Xyron Creative Station, I placed it onto the iPhone pattern and ran both through together.  The Creative Station can take such thick items.  You will see below that I ran embellishments made from shrink plastic and it had no problem with them. One of the magical features of the Xyron's sticker makers is that the top of your project comes out unscathed.  You just peel the plas