How to Color Cars
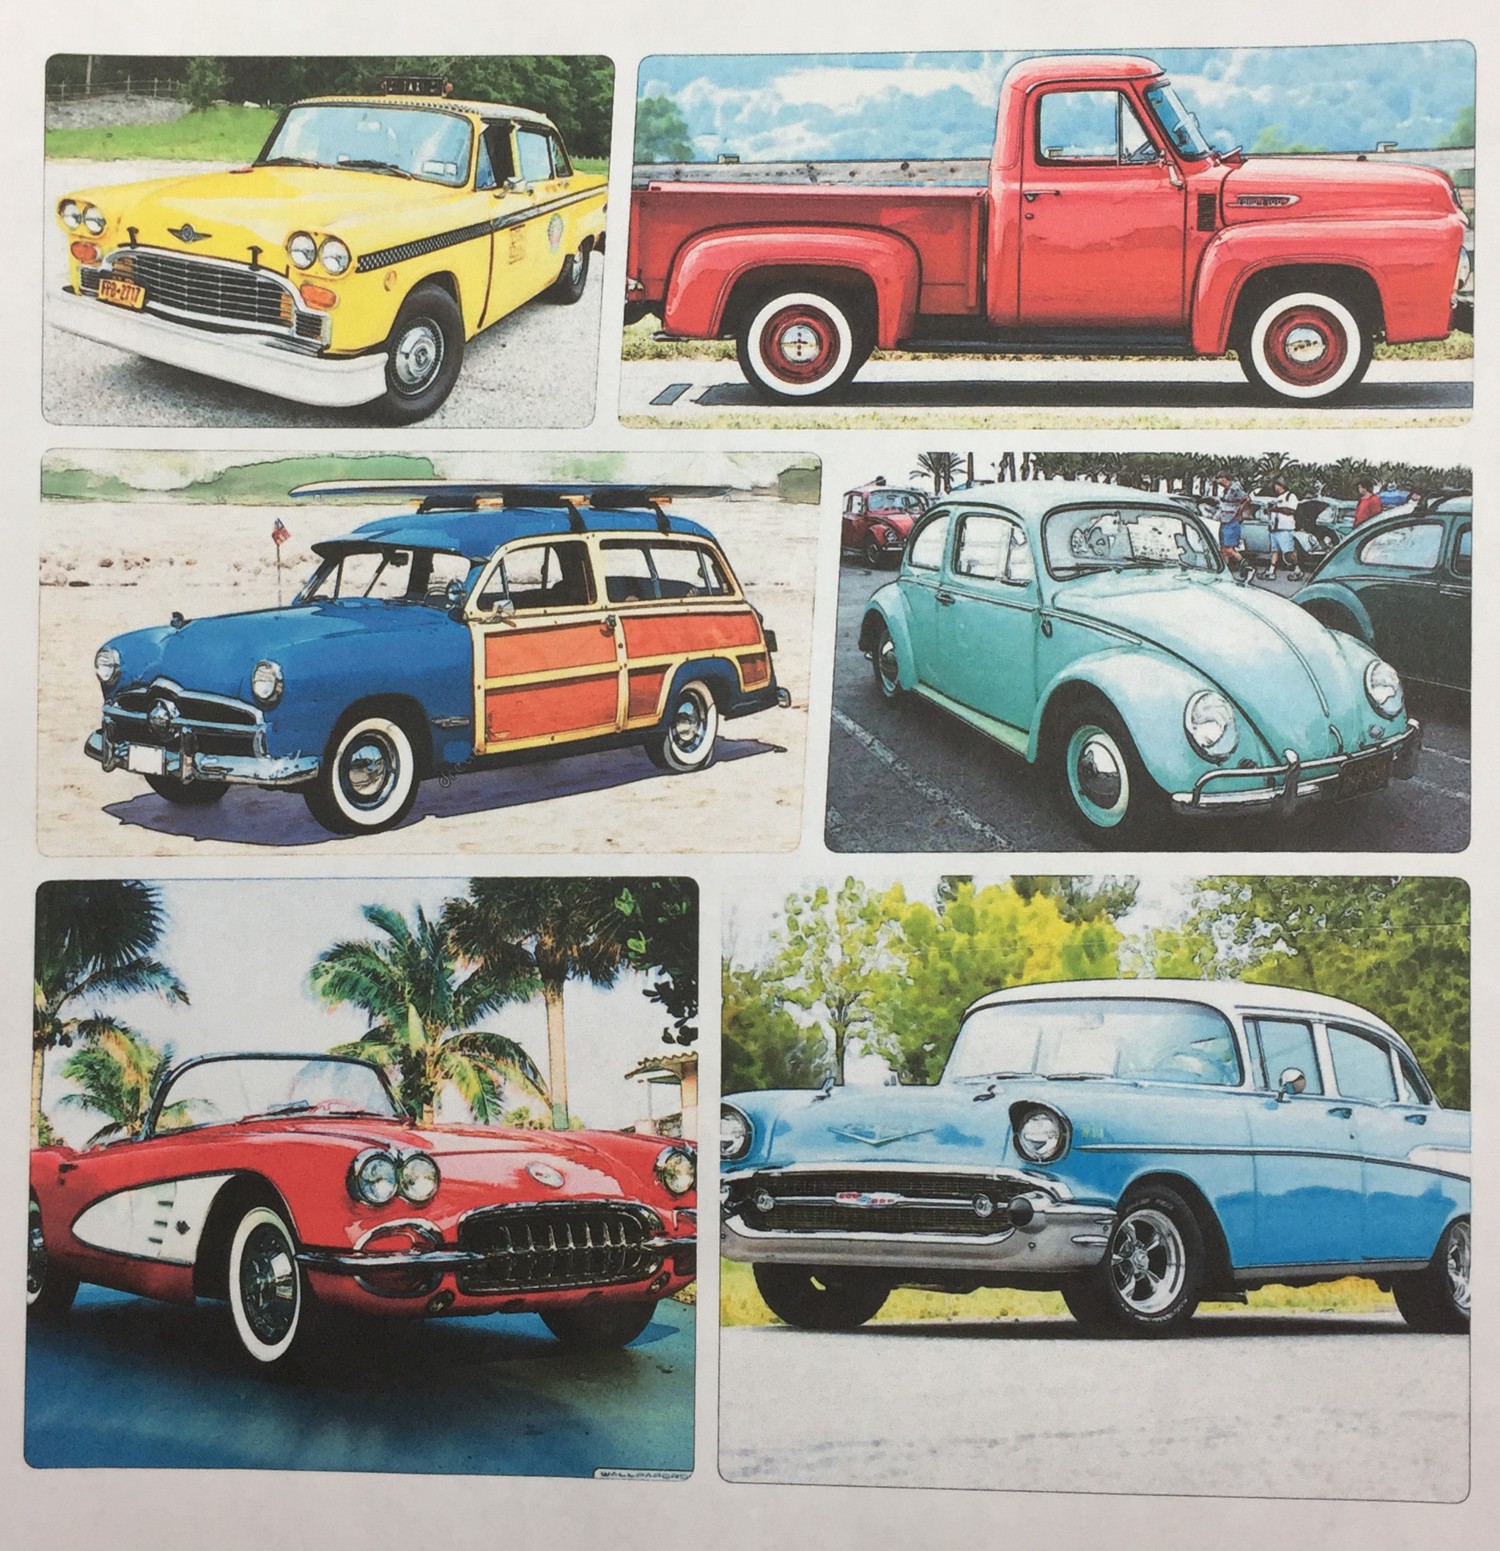
Coloring in cars is a lot of fun and it goes fast when you have an inspiration page of real photographs to see which colors to use and where to place shading and highlights. We have so many vehicle rubber stamps and these are just a few of them. Thanks for visiting us here to see how to color in each one, with added tips and tricks for creating shading and chrome bumpers.
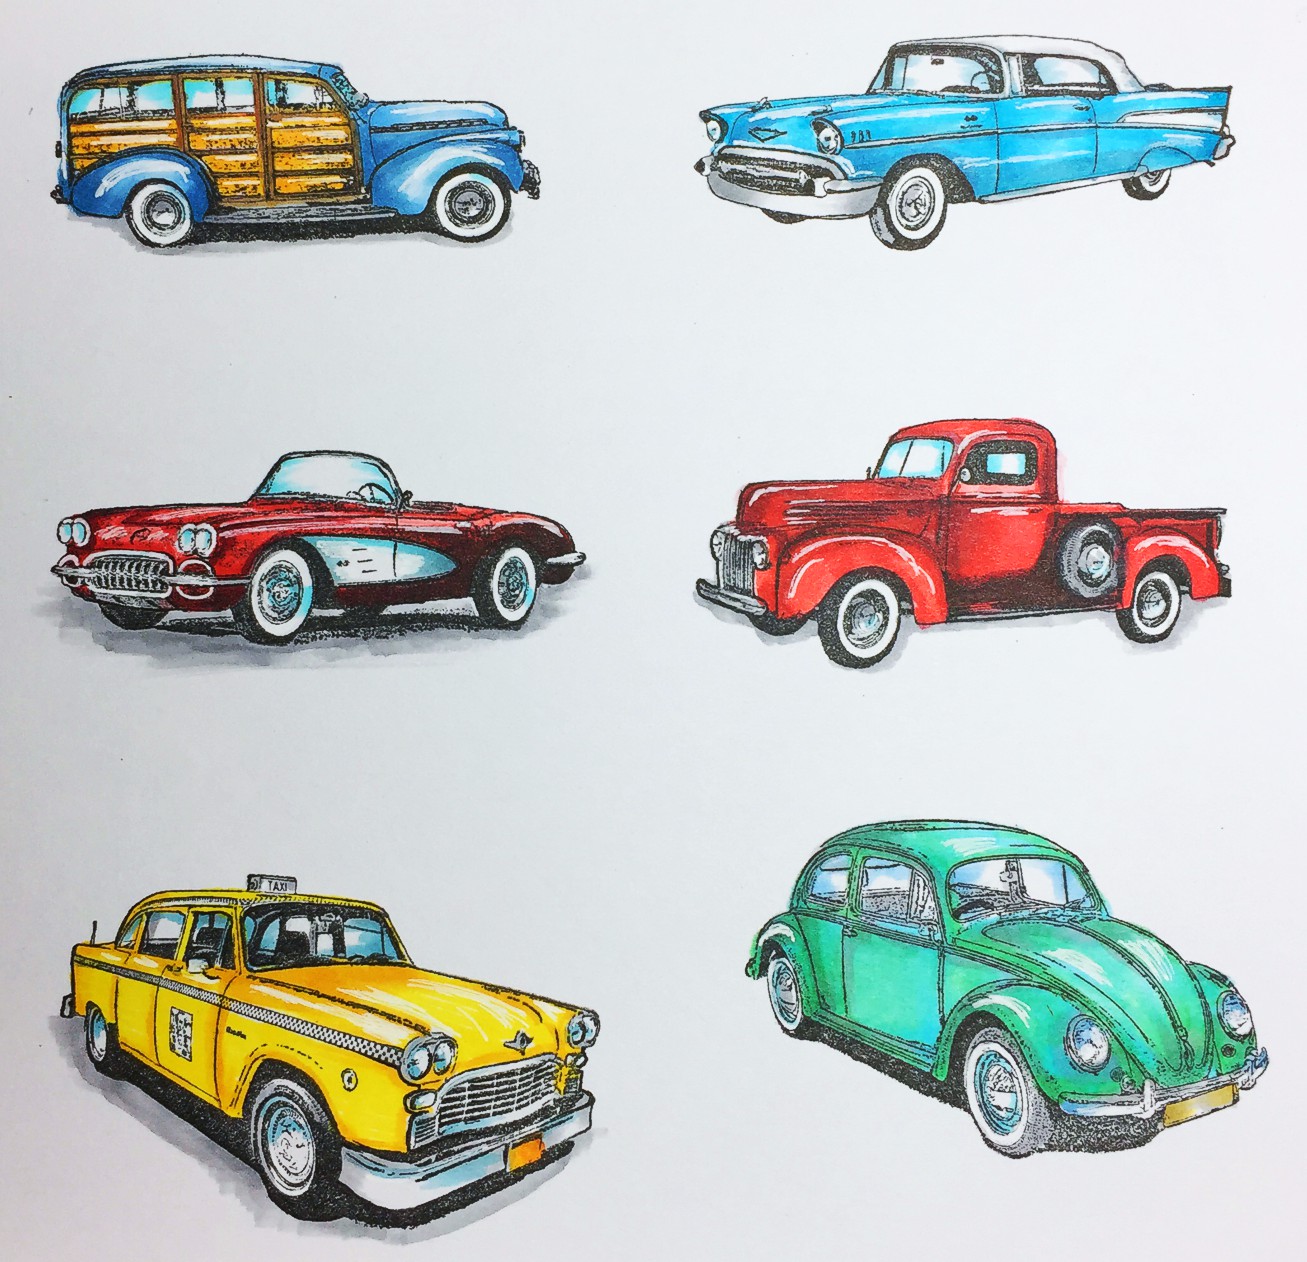
Cars, in real life, feature deep color areas and bright accent lines. I used Copic markers for these, but use your favorite brand. Having a white gel pen for the highlights is optional.
Let's start with our VW Bug Rubber Cling Stamp. To achieve the color teal, I first used a light green for the base and Mint Blue (or any light blue) on top of the green.
Tip: always save a piece of the paper you have stamped on to test your marker color(s) before coloring on the stamped image.
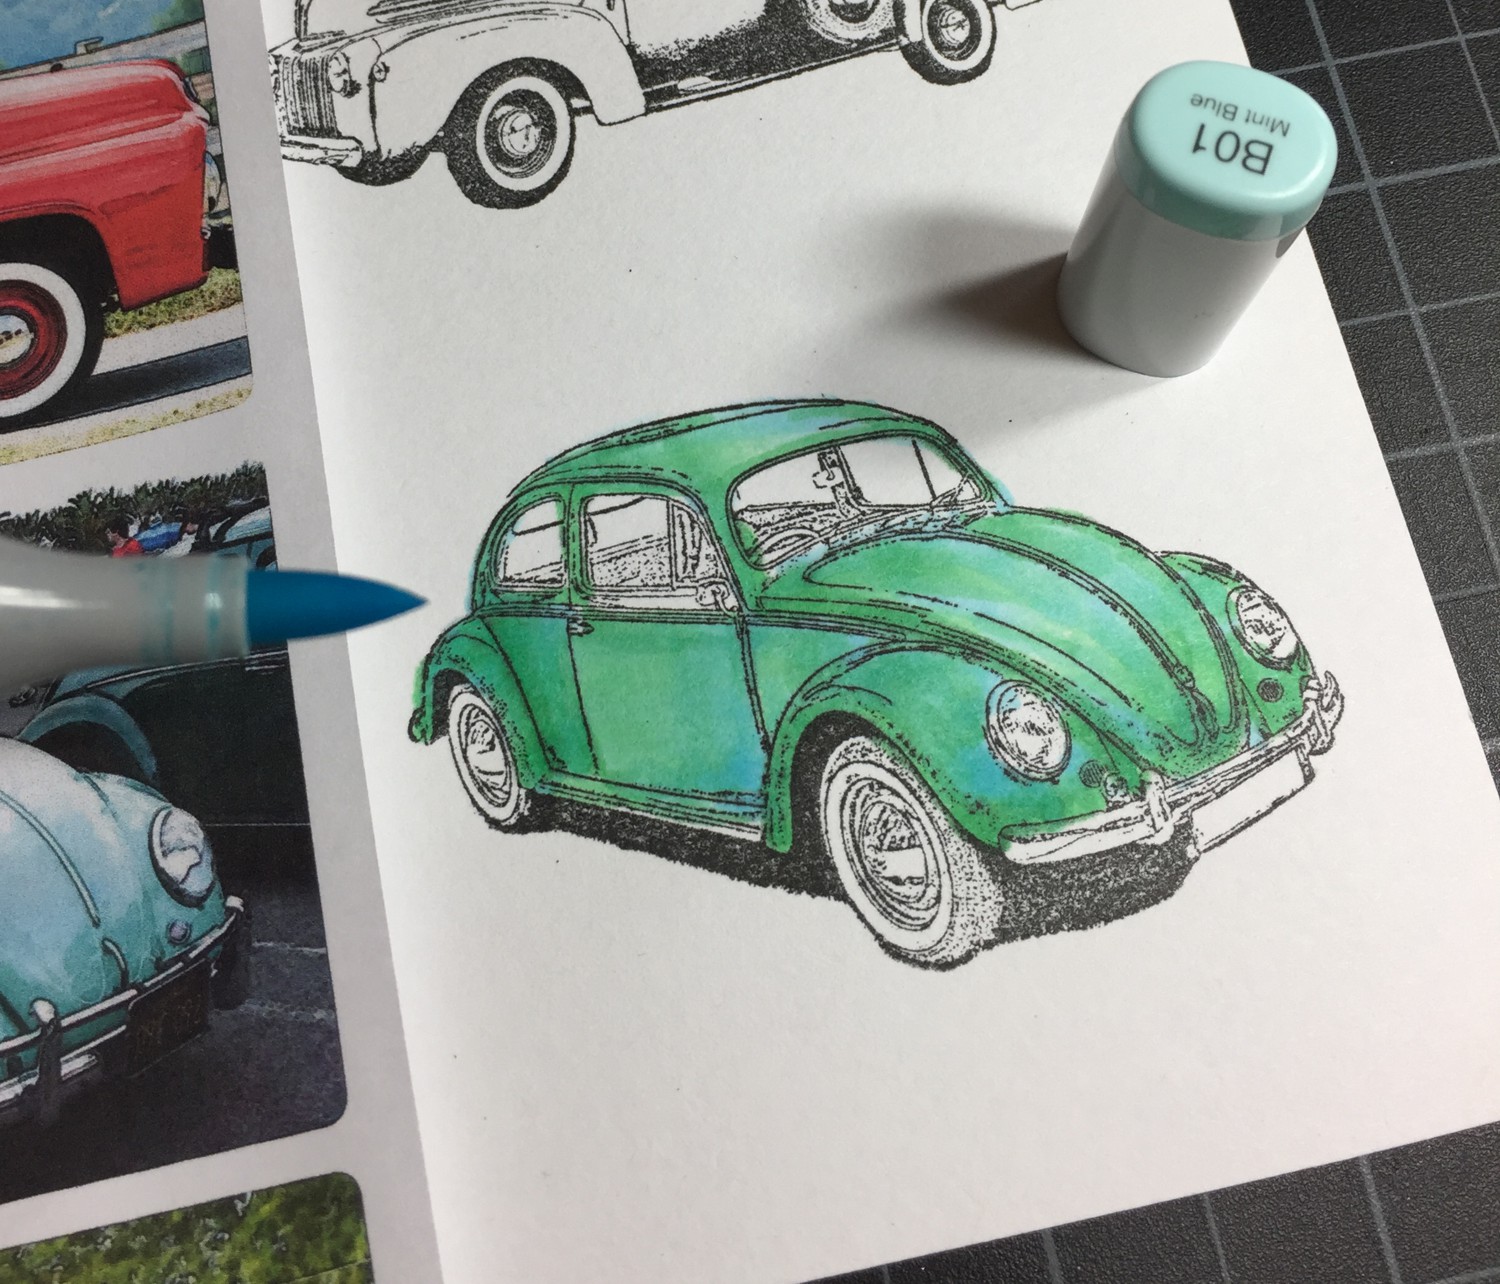
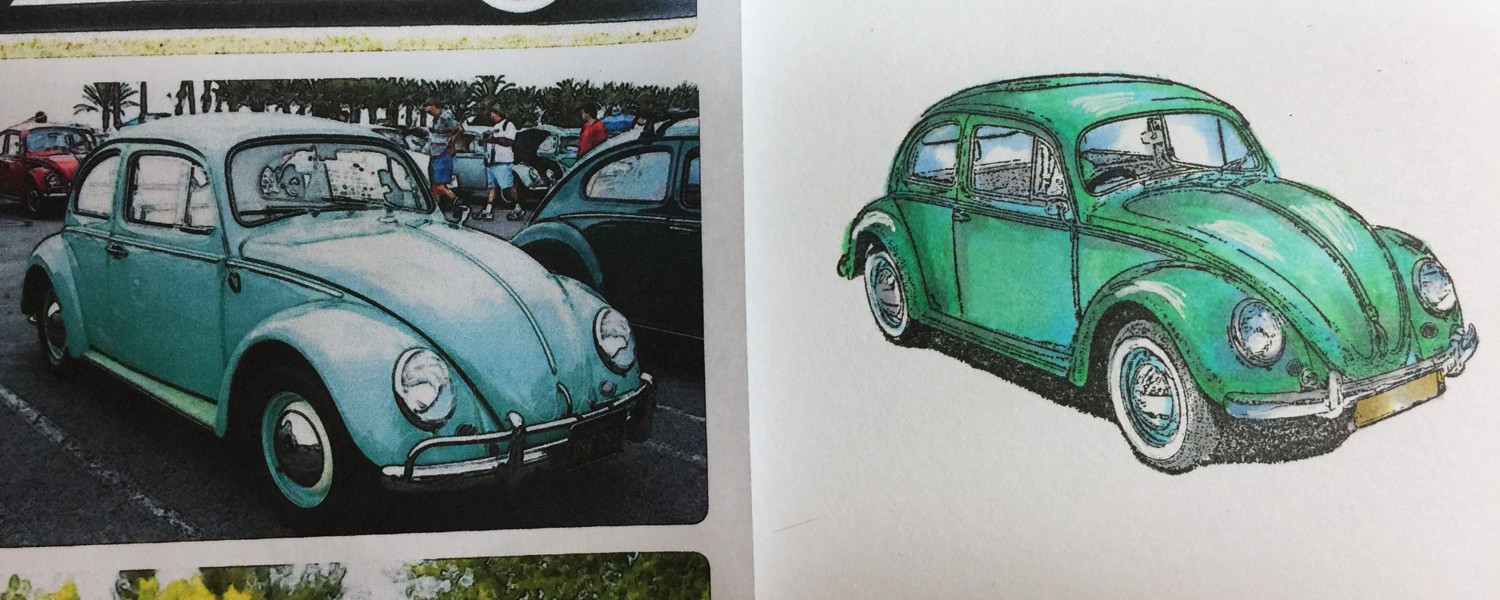
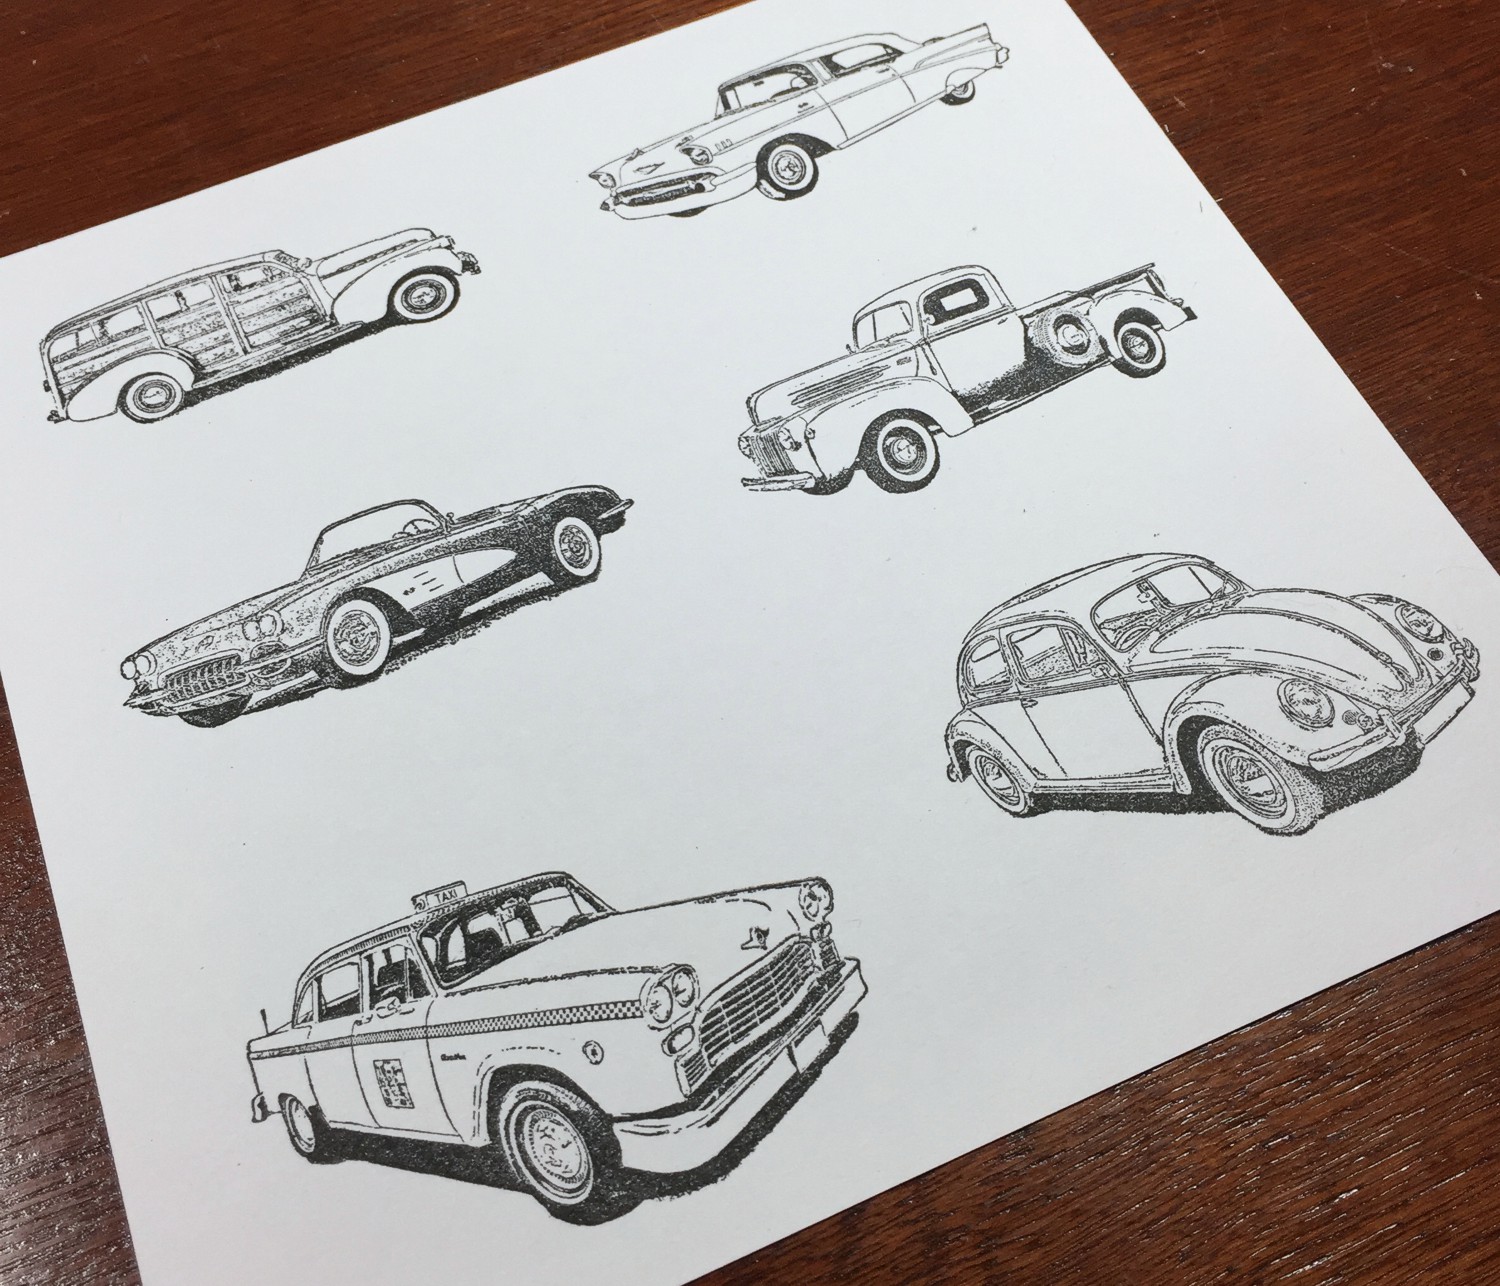
Above: Photograph left and VW Bug stamped on right.
Next, this Chevy Bel Air Rubber Cling Stamp was made turquoise using 2 shades.
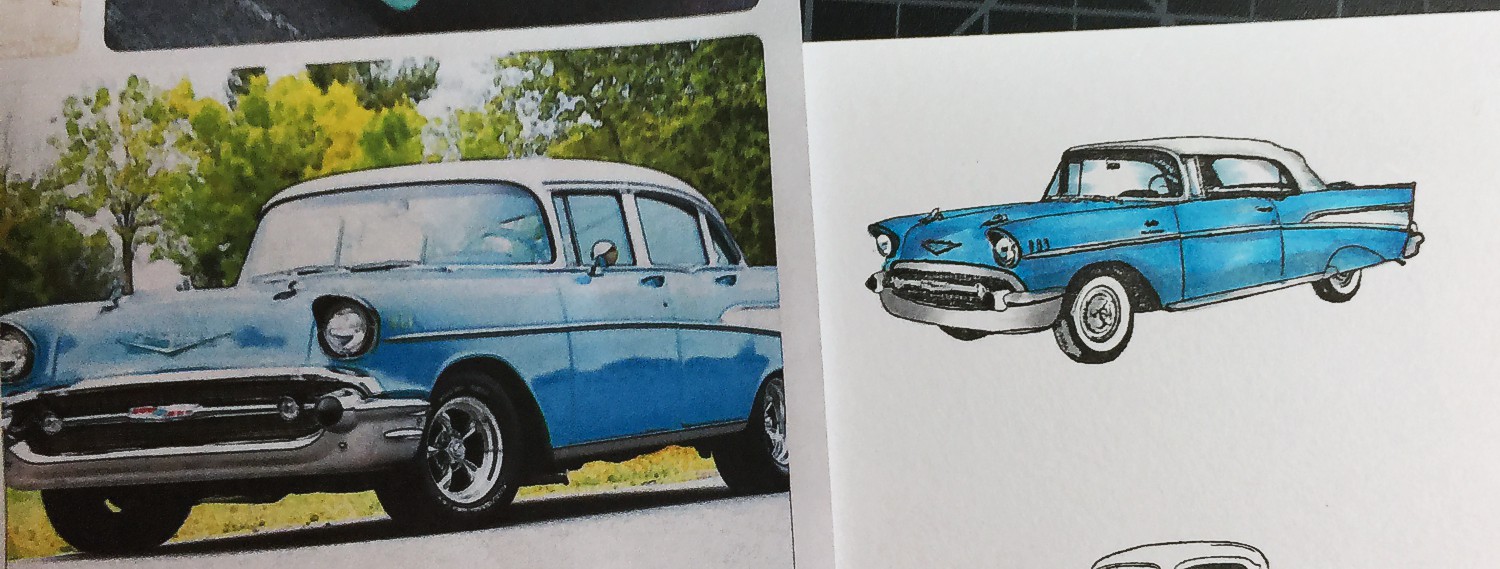
Above: Photograph left and Chevy Bel Air stamped on right.
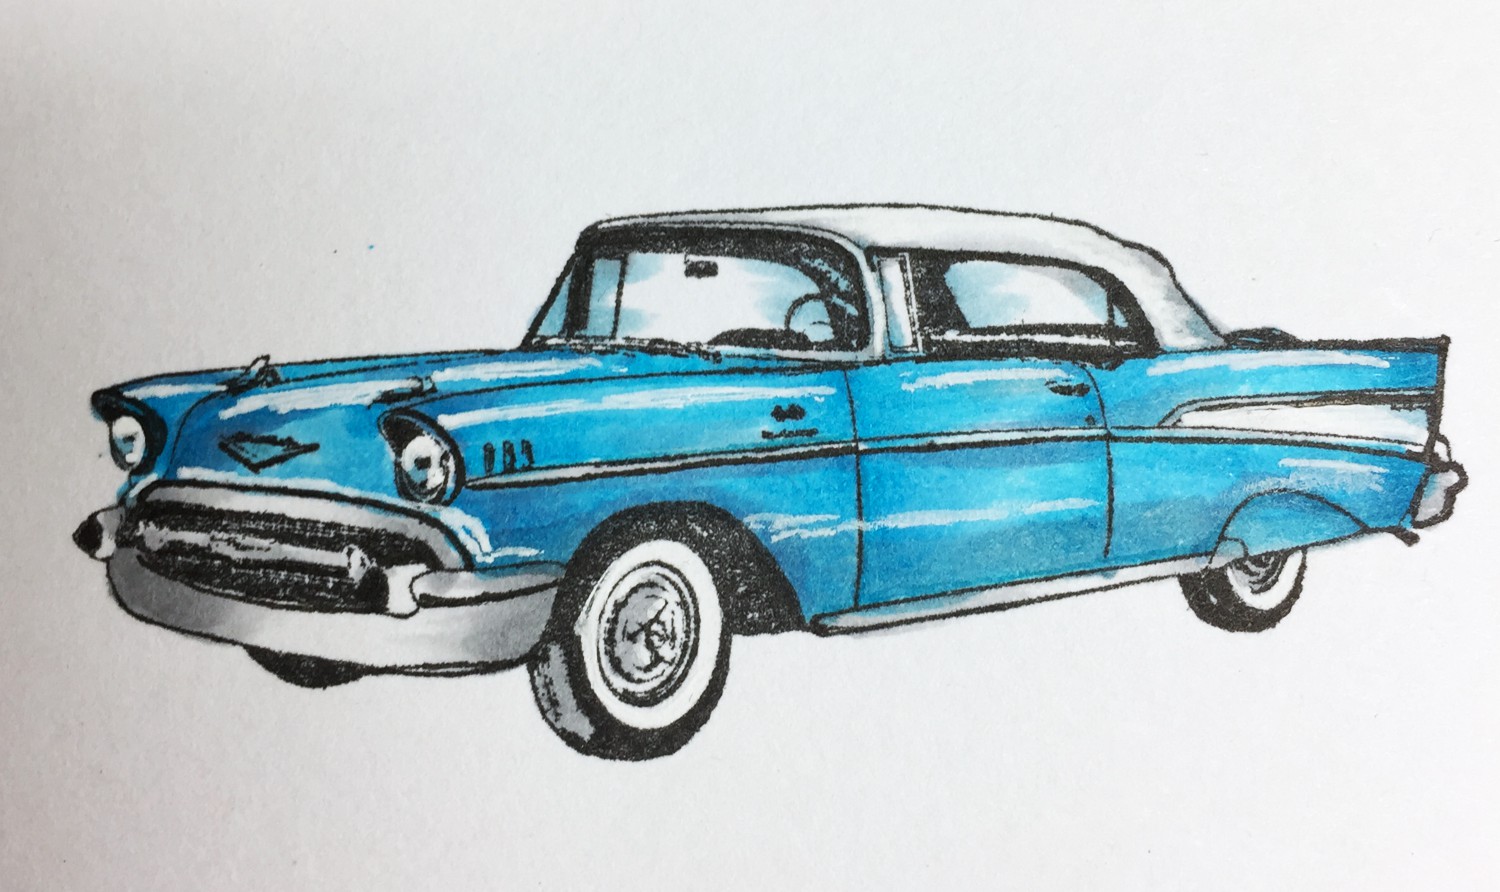
Above: Closeup of Chevy Bel Air stamped & colored in a pretty turquoise. All images were stamped using Noir Palette Hybrid ink on white card stock.
Our Classic Corvette Rubber Cling Stamp is one of the easiest of our car stamps to color because it comes with shading already in the design. I only used two shades of a red marker to make this rich, red Stingray Corvette. Add a little blue in the curve of the white area.
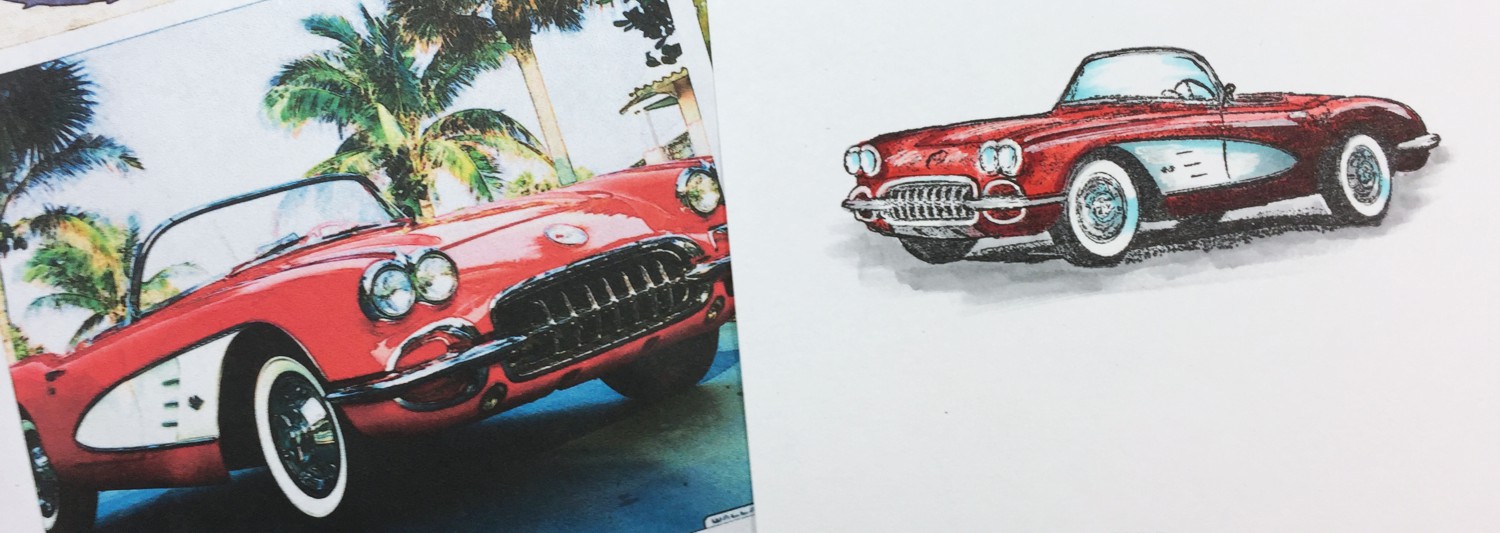
Above: Photograph left and Classic Corvette stamped on right.
Classic Pickup Truck Rubber Cling Stamp can be so many different colors, but I chose red for this one since my inspiration photo was red. This stamp design is such a joy to color in, you can't really go wrong with whatever color you pick.
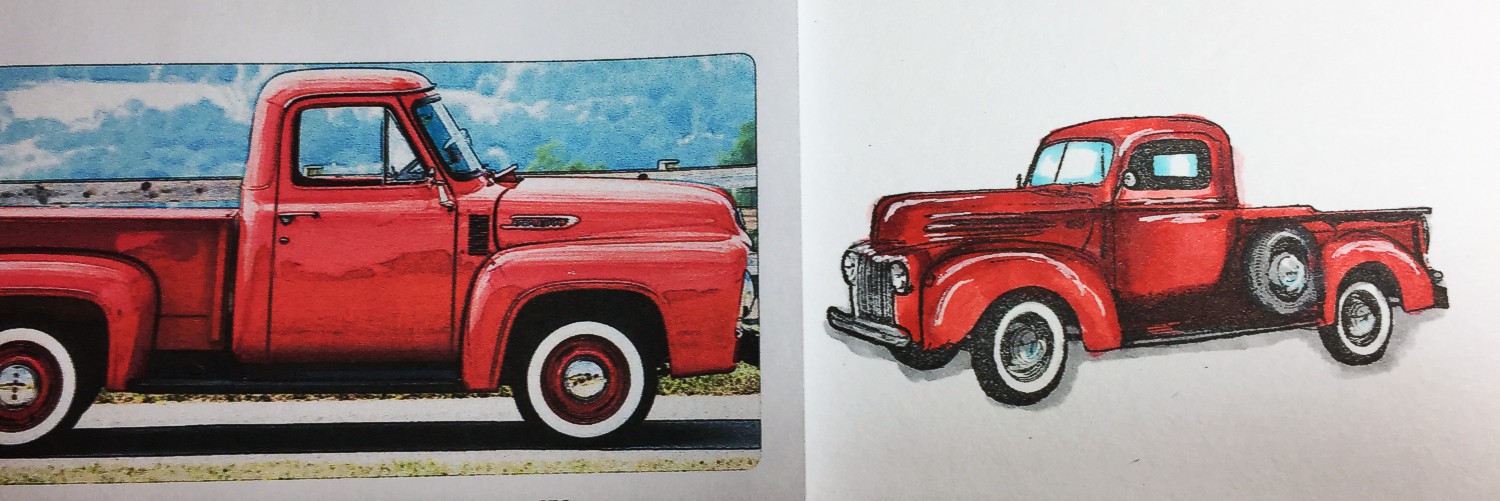
Above: Photograph left and Classic Pickup Truck stamped right.
For the Vintage Woody Rubber Cling Stamp, you get to be extra creative in coloring in wood panels. A vintage beach wagon from the 60's, the actual car features panels made out of wood and that is how it gets its name. I used 3 shades of blue for this one.
Tip: When you start, use your lightest shade first as the foundation. Then add the next darker shade and finally the darkest shade. I then take the original lightest blue to blend it all together at the end.

Add your darkest shade of blue in the 'corners' like the back of the wheel wells and the front wheel wells.

To create a wood color, I used a dark skin tone color first, then yellow on top of that color.
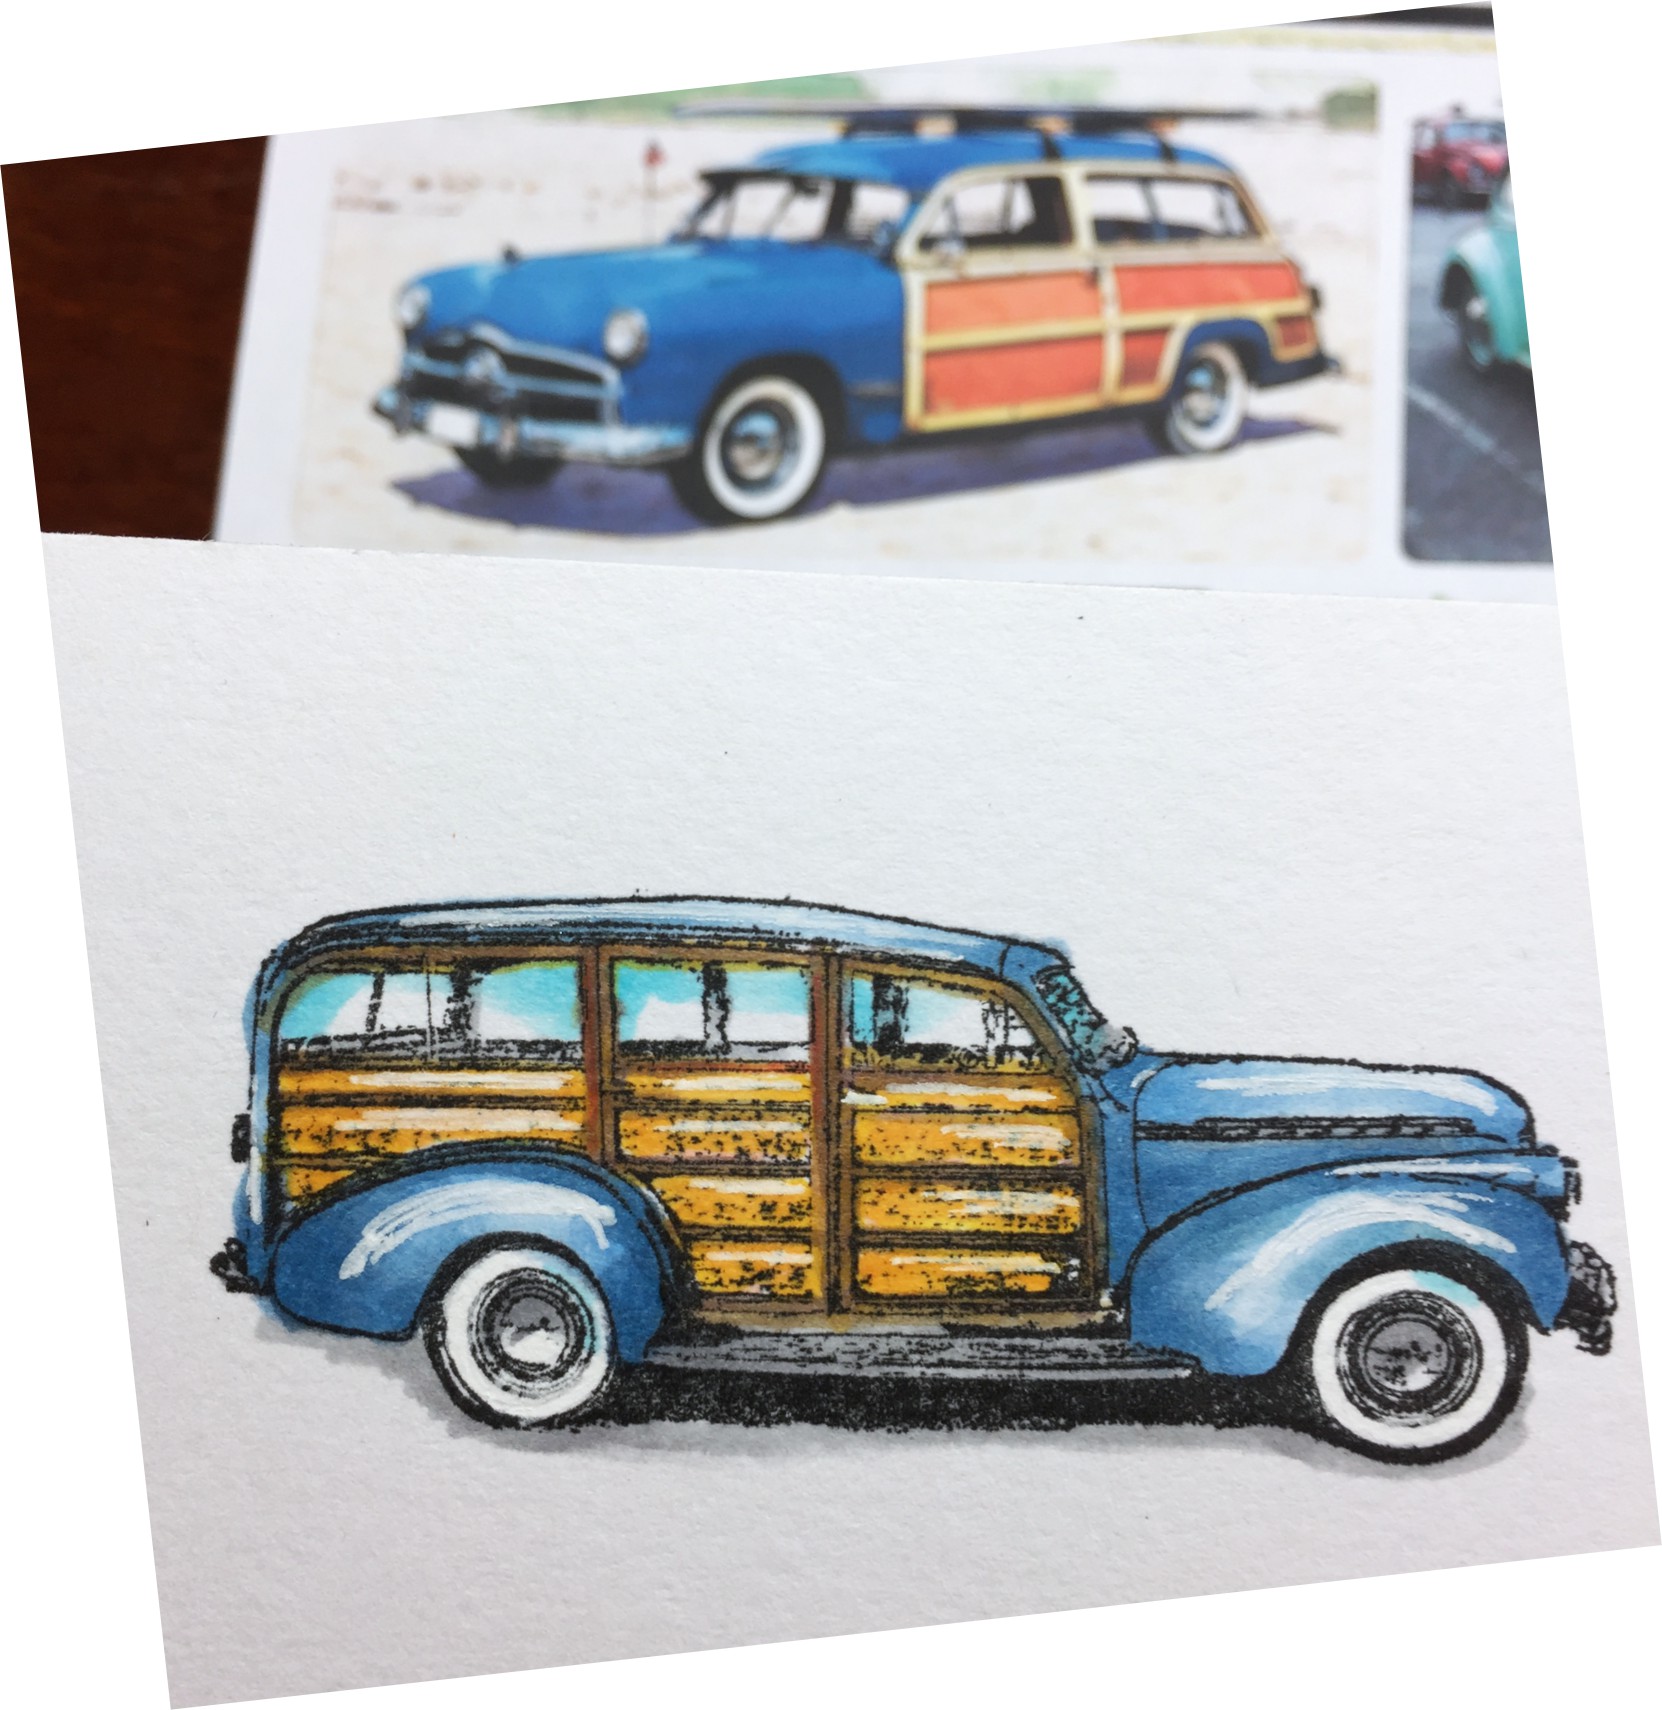
A darker brown was used as the framing for the wood panels. And white gel pen for highlights.
Classic Taxi Cab Rubber Cling Stamp is probably the most fun to color in because the panels are large and you get to use yellow.. a lot! I only have one truly yellow Copic marker, so I used a Sharpie yellow as the base first, then the yellow Copic (Y18 Lightning Yellow).
Tip: to create the appearance of chrome, use a light blue and light gray with thin black marker for outline.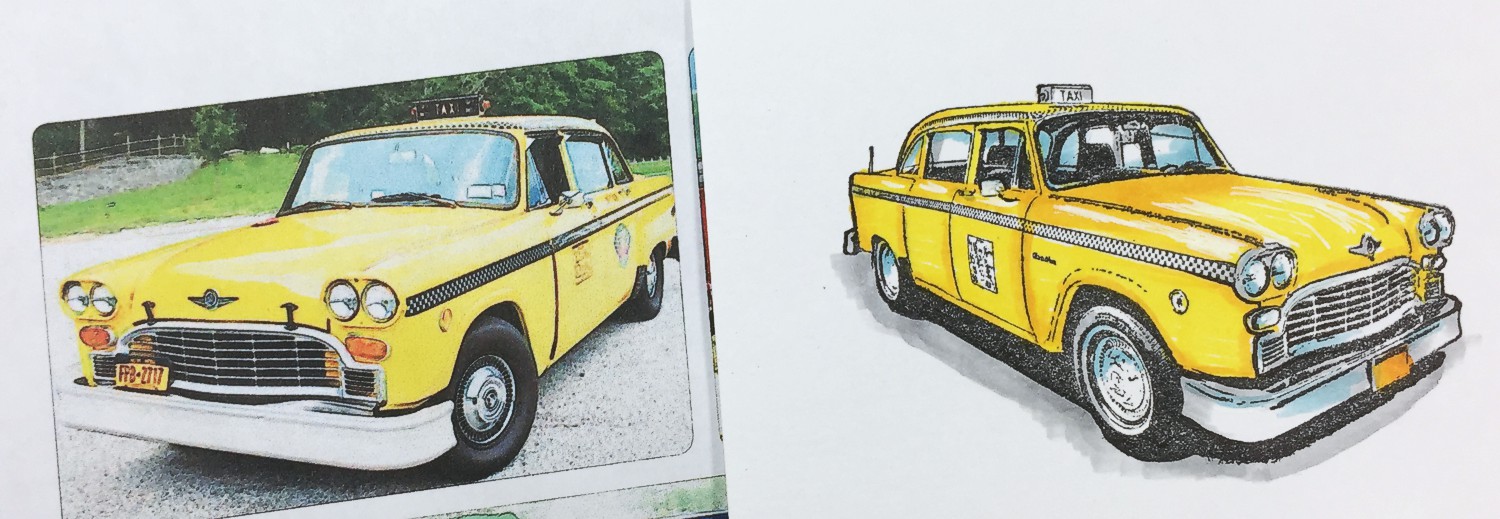
Rubber stamps featured:
VW Bug Rubber Cling Stamp
VW Bug Rubber Cling Stamp
Inspiration photos (below courtesy of Wikipedia) to know what color to make each car, where the darker colors go and where to place highlights.